Content Creation
3D models, textures and lightmaps are created in your favorite DCC and imported into Polyte.
This is where your digital product is assembled and brought to life with materials, shaders, the imported textures and cameras.
Assets that are used in Polyte are created in DCCs outside of the Polyte Editor.
Preparing 3d models
3D models are created as low-poly meshes in your favorite modeling software and loaded into the Polyte Editor as an FBX file.
Here are a few things to keep in mind as you prepare your models:
- Remove non-manufold polygons
- Remove N-Gons (quads and triangles only (triangles recommended))
- Remove bad polygons
- Align poly-normals to the outside
- Create UVs
It is recommended that the following things also be observed:
- Reset the scaling of the objects (1, 1, 1)
- Lock normals
- One material per object
- Good naming of the scene objects helps you and your team to better maintain your projects.
UVs
UV islands should be placed between 0 and 1 UV space
It is possible to use up to two UV channels per mesh.
To use the second UV channel in Polyte, make sure the shader reads it inside the ResourceReadNode with Get A_UV2
Optimize
Make sure that only the most necessary polygons and points remain in the model in order to keep the file size low and the rendering performance high.
Use as few scene nodes as possible and combine objects with the same materials wherever possible.
Remember that if a model requires switching of parts for variations of the product, objects should be grouped logically in order to make your live easier.
Exporting models for Polyte
Temporarily notice
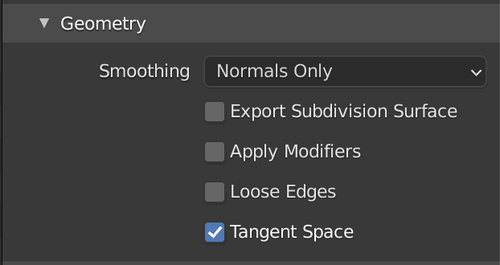
Models should be temporarily exported from Blender for normal maps to display correctly.
This is a temporary solution that will soon no longer be required!
Export an FBX from Blender and set the following parameters in the export dialog under Geometry
Textures
Textures are created or scanned in your favorite texturing suite and imported into Polyte as .jpg or .png.
The images that make a texture should be as small as possible and always follow the rule of the power of two.
Create textures according to the following principle:
256px * 256px 512px * 512px 1024px * 1024px 1024px * 256px 512px * 128px
Compressing textures in tools like compressor.io provides even better performance, but sometimes with the disadvantage of losing visual quality.
So use it, but use it wisely.
Normal maps are usually very large. Try to use it sparingly.
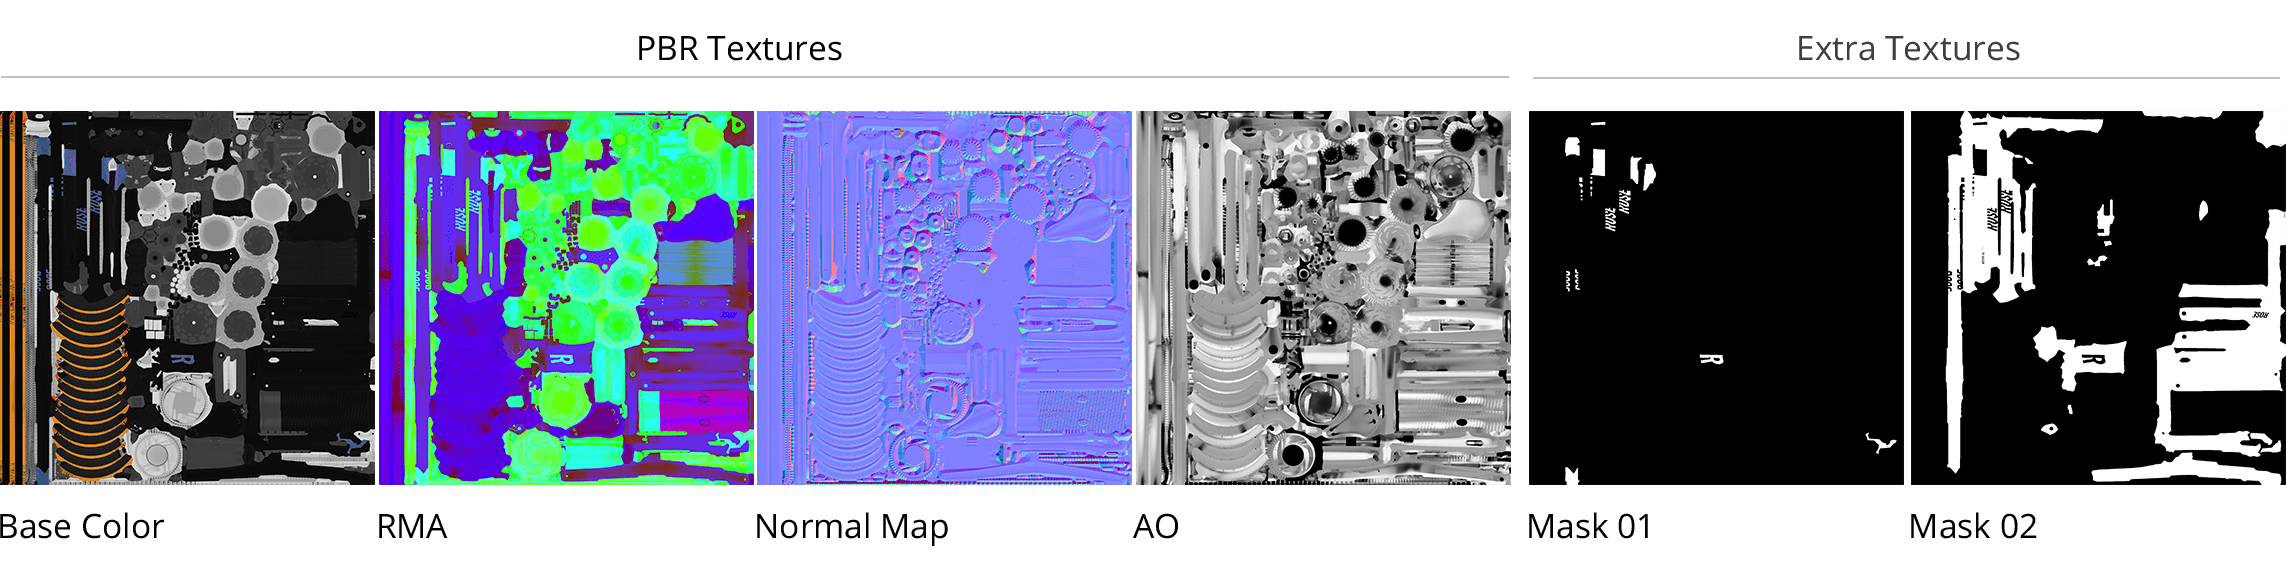
Commonly used texture maps: Diffusemap, NormalMap, RMA (Packed channels), LightMap, Masks
Lightmaps
You can bake lightmaps in your favorite baking tool. These are then simply imported into Polyte Editor as textures.
Make sure the shadow matches the IBL lighting.
Creating Materials
Materials are made directly in the Polyte Editor.
Creating Variants
You can also set up the variants directly in the Polyte Editor.
Khronos Asset Creation Guidelines
For further information about the creation processs please also refer to the official Khronos asset creation guidelines
AssetCreationGuidelines.pdf